Making a Project Bag
Love sewing, and love being organised? A project bag (or two!) is just what you need to help keep all your pattern pieces and pattern instructions together in between sewing sessions, because let’s face it – we’re all busy, and rarely finish an entire project in one sitting.
The By Annie Patterns Project Bags 2.0 is an essential item in your sewing room, or for taking your current project with you to your weekly sewing class.
Here’s a few things I love about the pattern:
We all know that Annie designs well thought out and practical patterns. This is no exception.
There are 4 sizes to choose from, meaning you can make a bag that suits your projects.
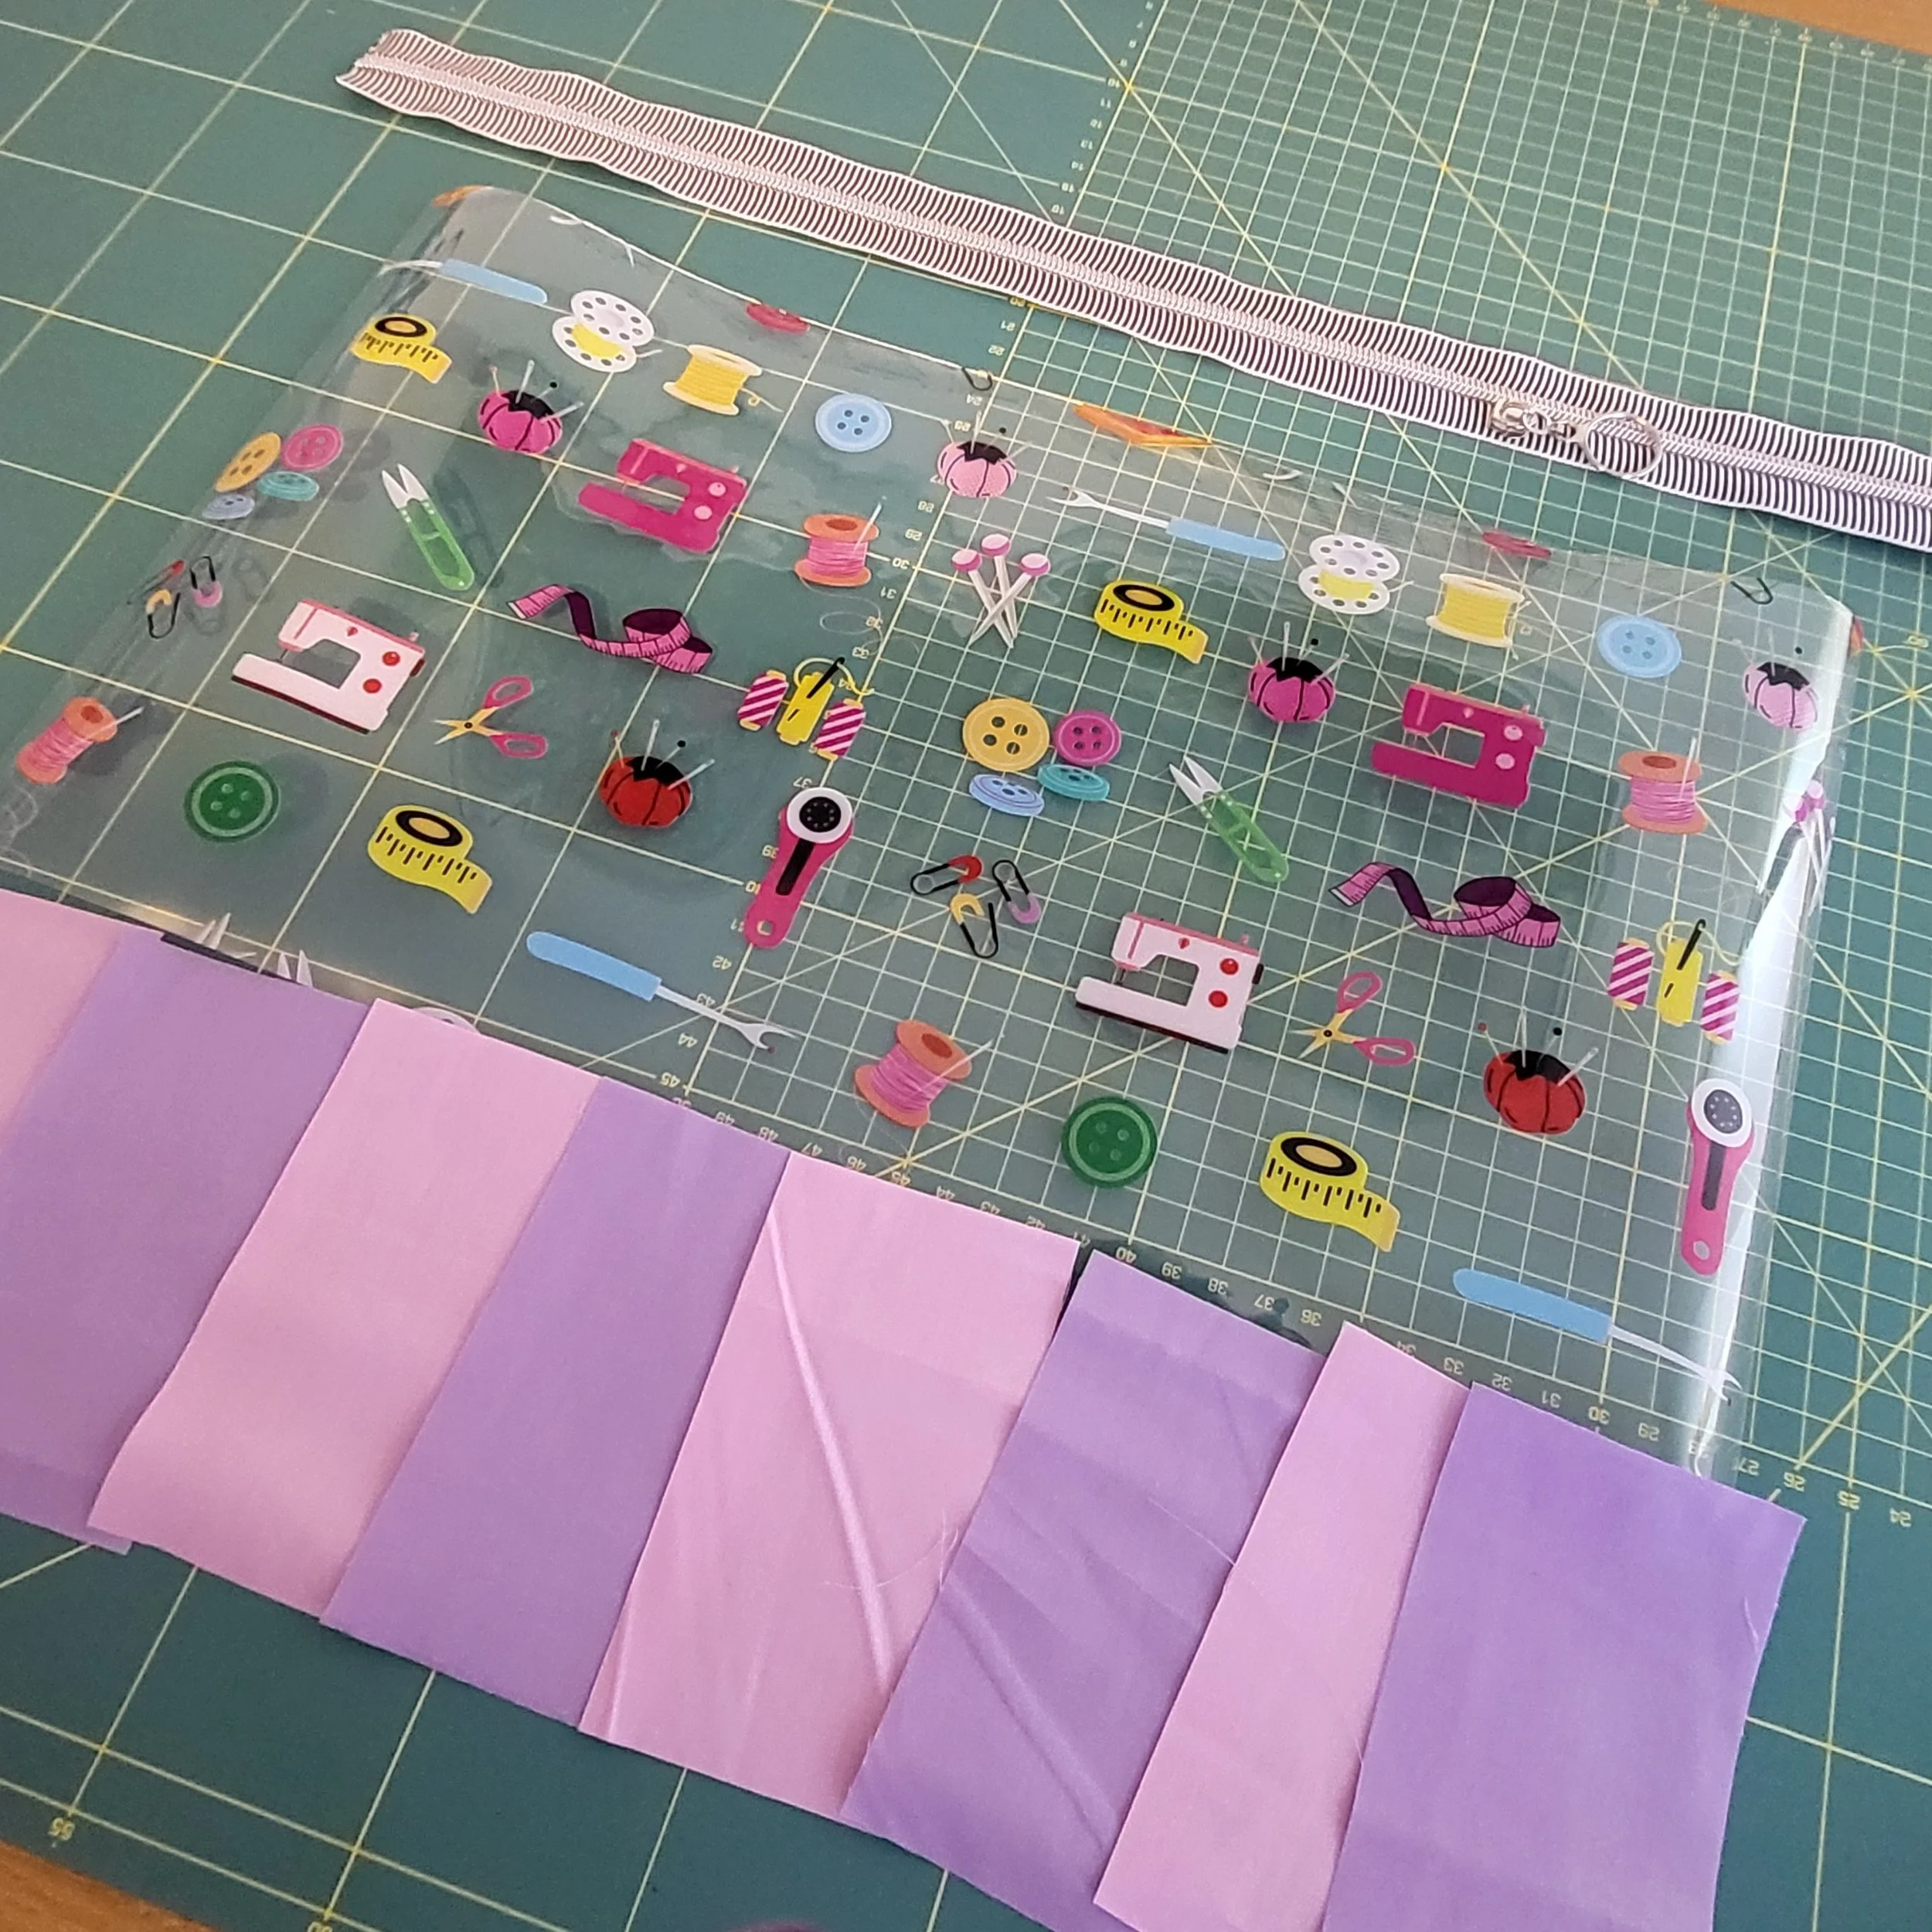
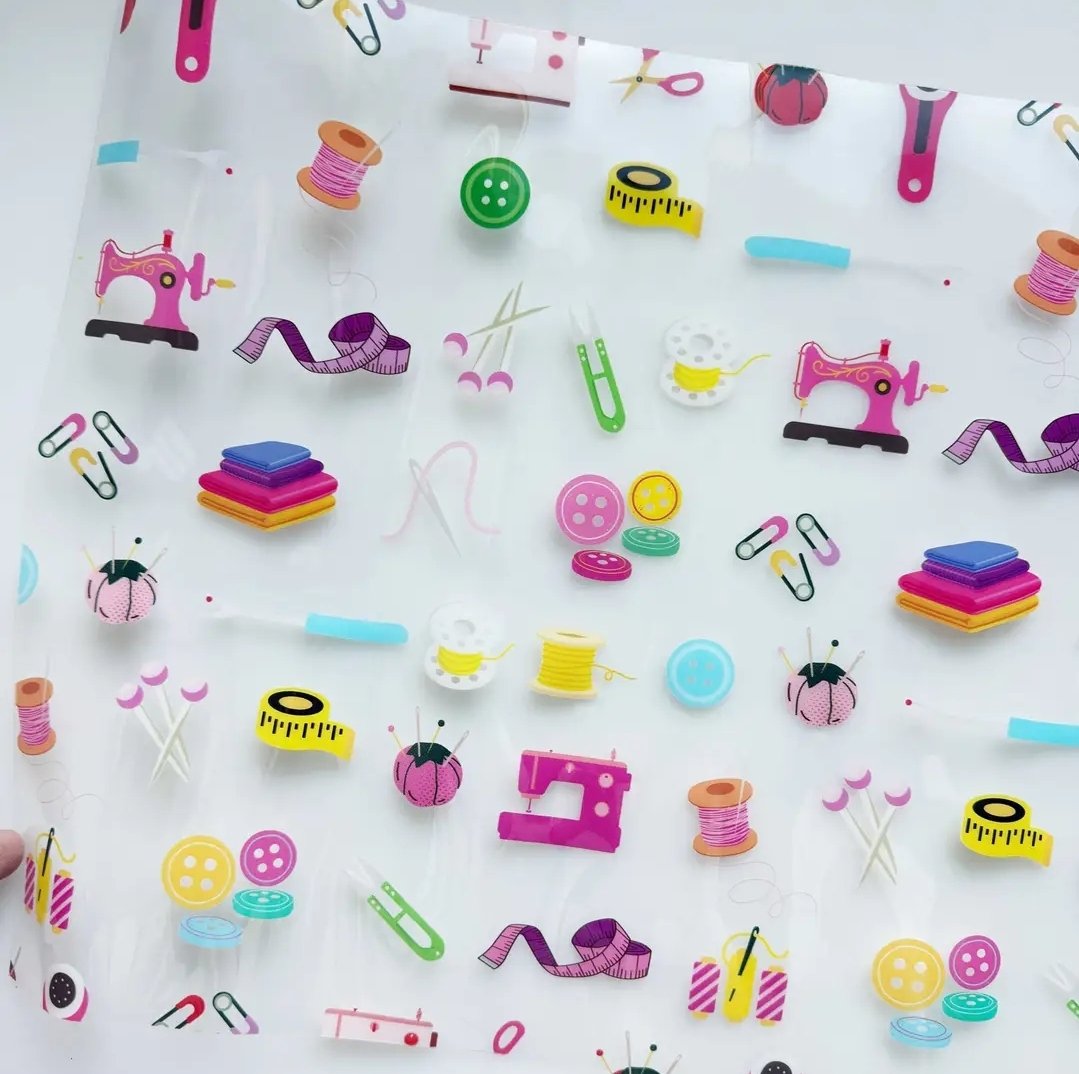
You’ve picked up one of the lovely vinyl rolls we have in stock? The window on these project bags is the ideal place to show off your fun printed vinyl whilst still allowing you to see your in-progress sewing project.
The front panel is a great opportunity for a bit of scrap busting, whether you piece a front panel or simply use your favourite offcut in one larger strip.
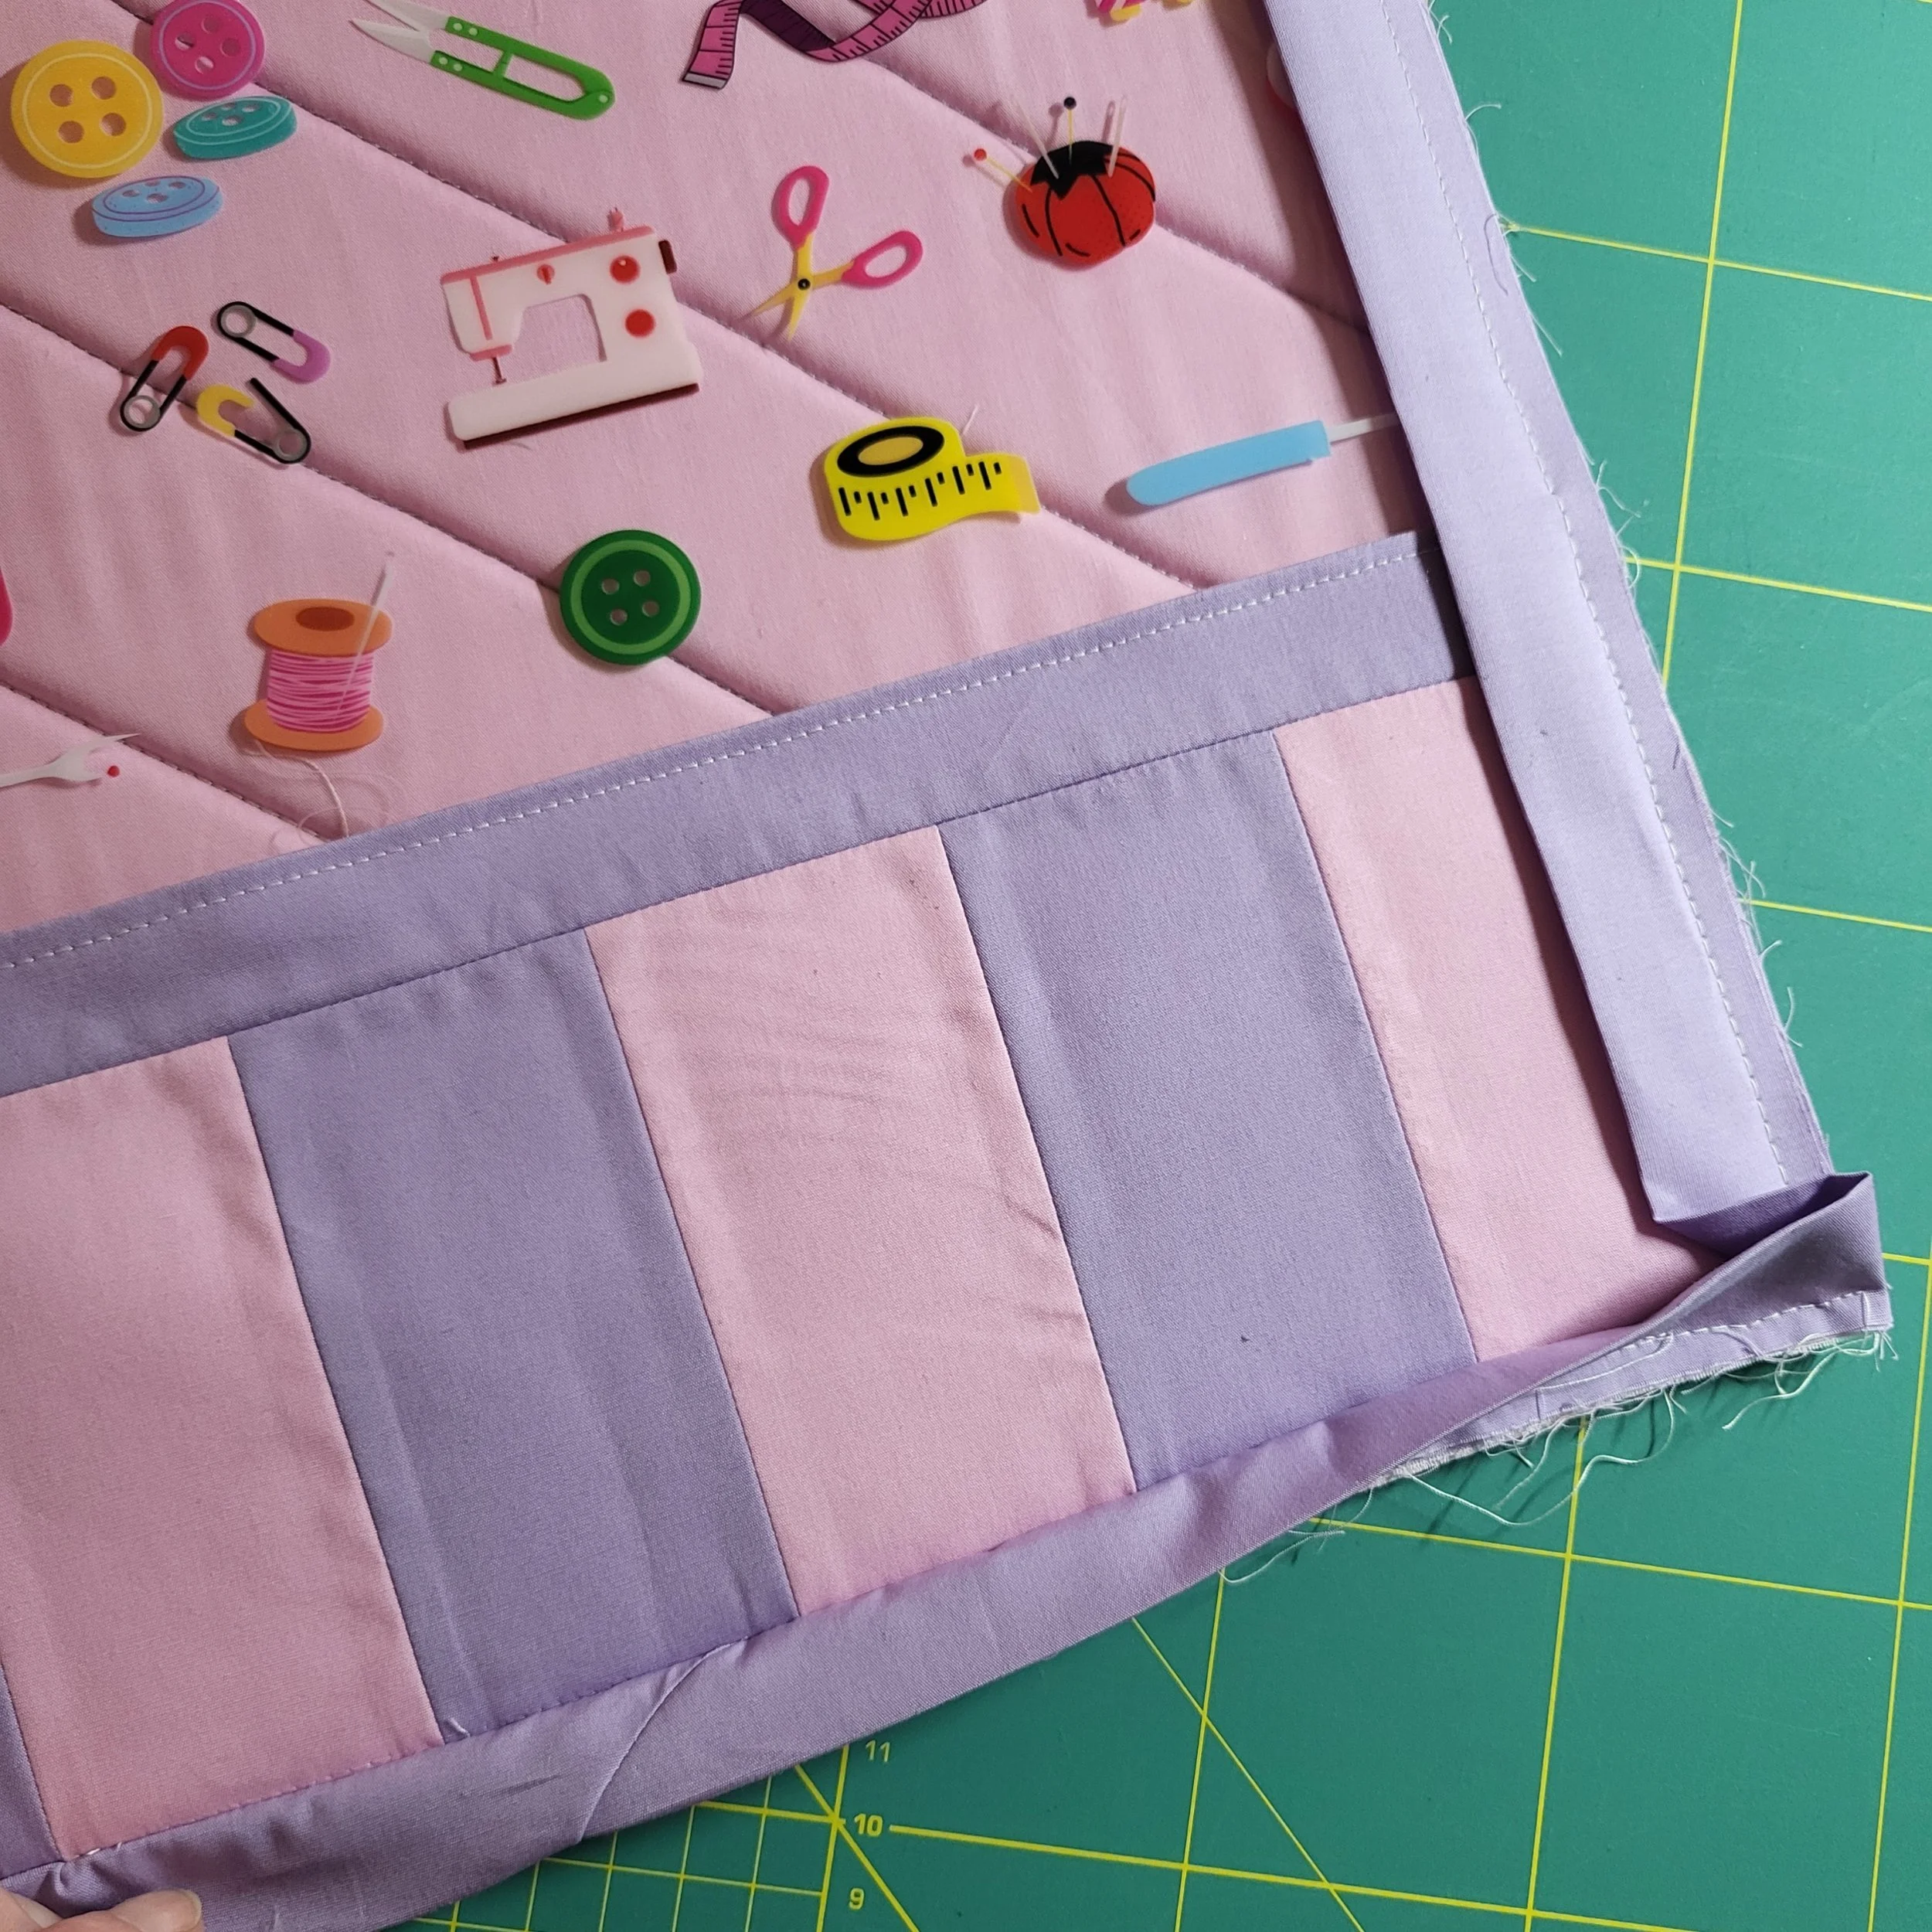
New to quilting? This is a nice basic project to help you learn quilting and binding.
The carry handle is perfect for toting your project to class, or simply hanging up in your sewing space ready for the next time you can pick it up.
To make this example project bag, I used our Sewing Notions vinyl, along with a couple of Art Gallery Fabrics Pure Solids. I decided to use the pure solids to really let the vinyl shine. You’ll see another example I made a while ago, where I’ve used our plain clear vinyl along with a patterned fabric. Both look great, so you really can personalise this project to your own taste.
I made the jumbo size for this example, and previously made the large. I think the small and medium size are perfect for smaller projects too. Or even storing some of your sewing notions.
To start off this project, you’re going to cut your main and lining fabric larger than the final pattern piece. The same with your batting. Then quilt in your desired design (I went for simple diagonal lines on both the project bags I’ve made) before cutting the pieces to size.
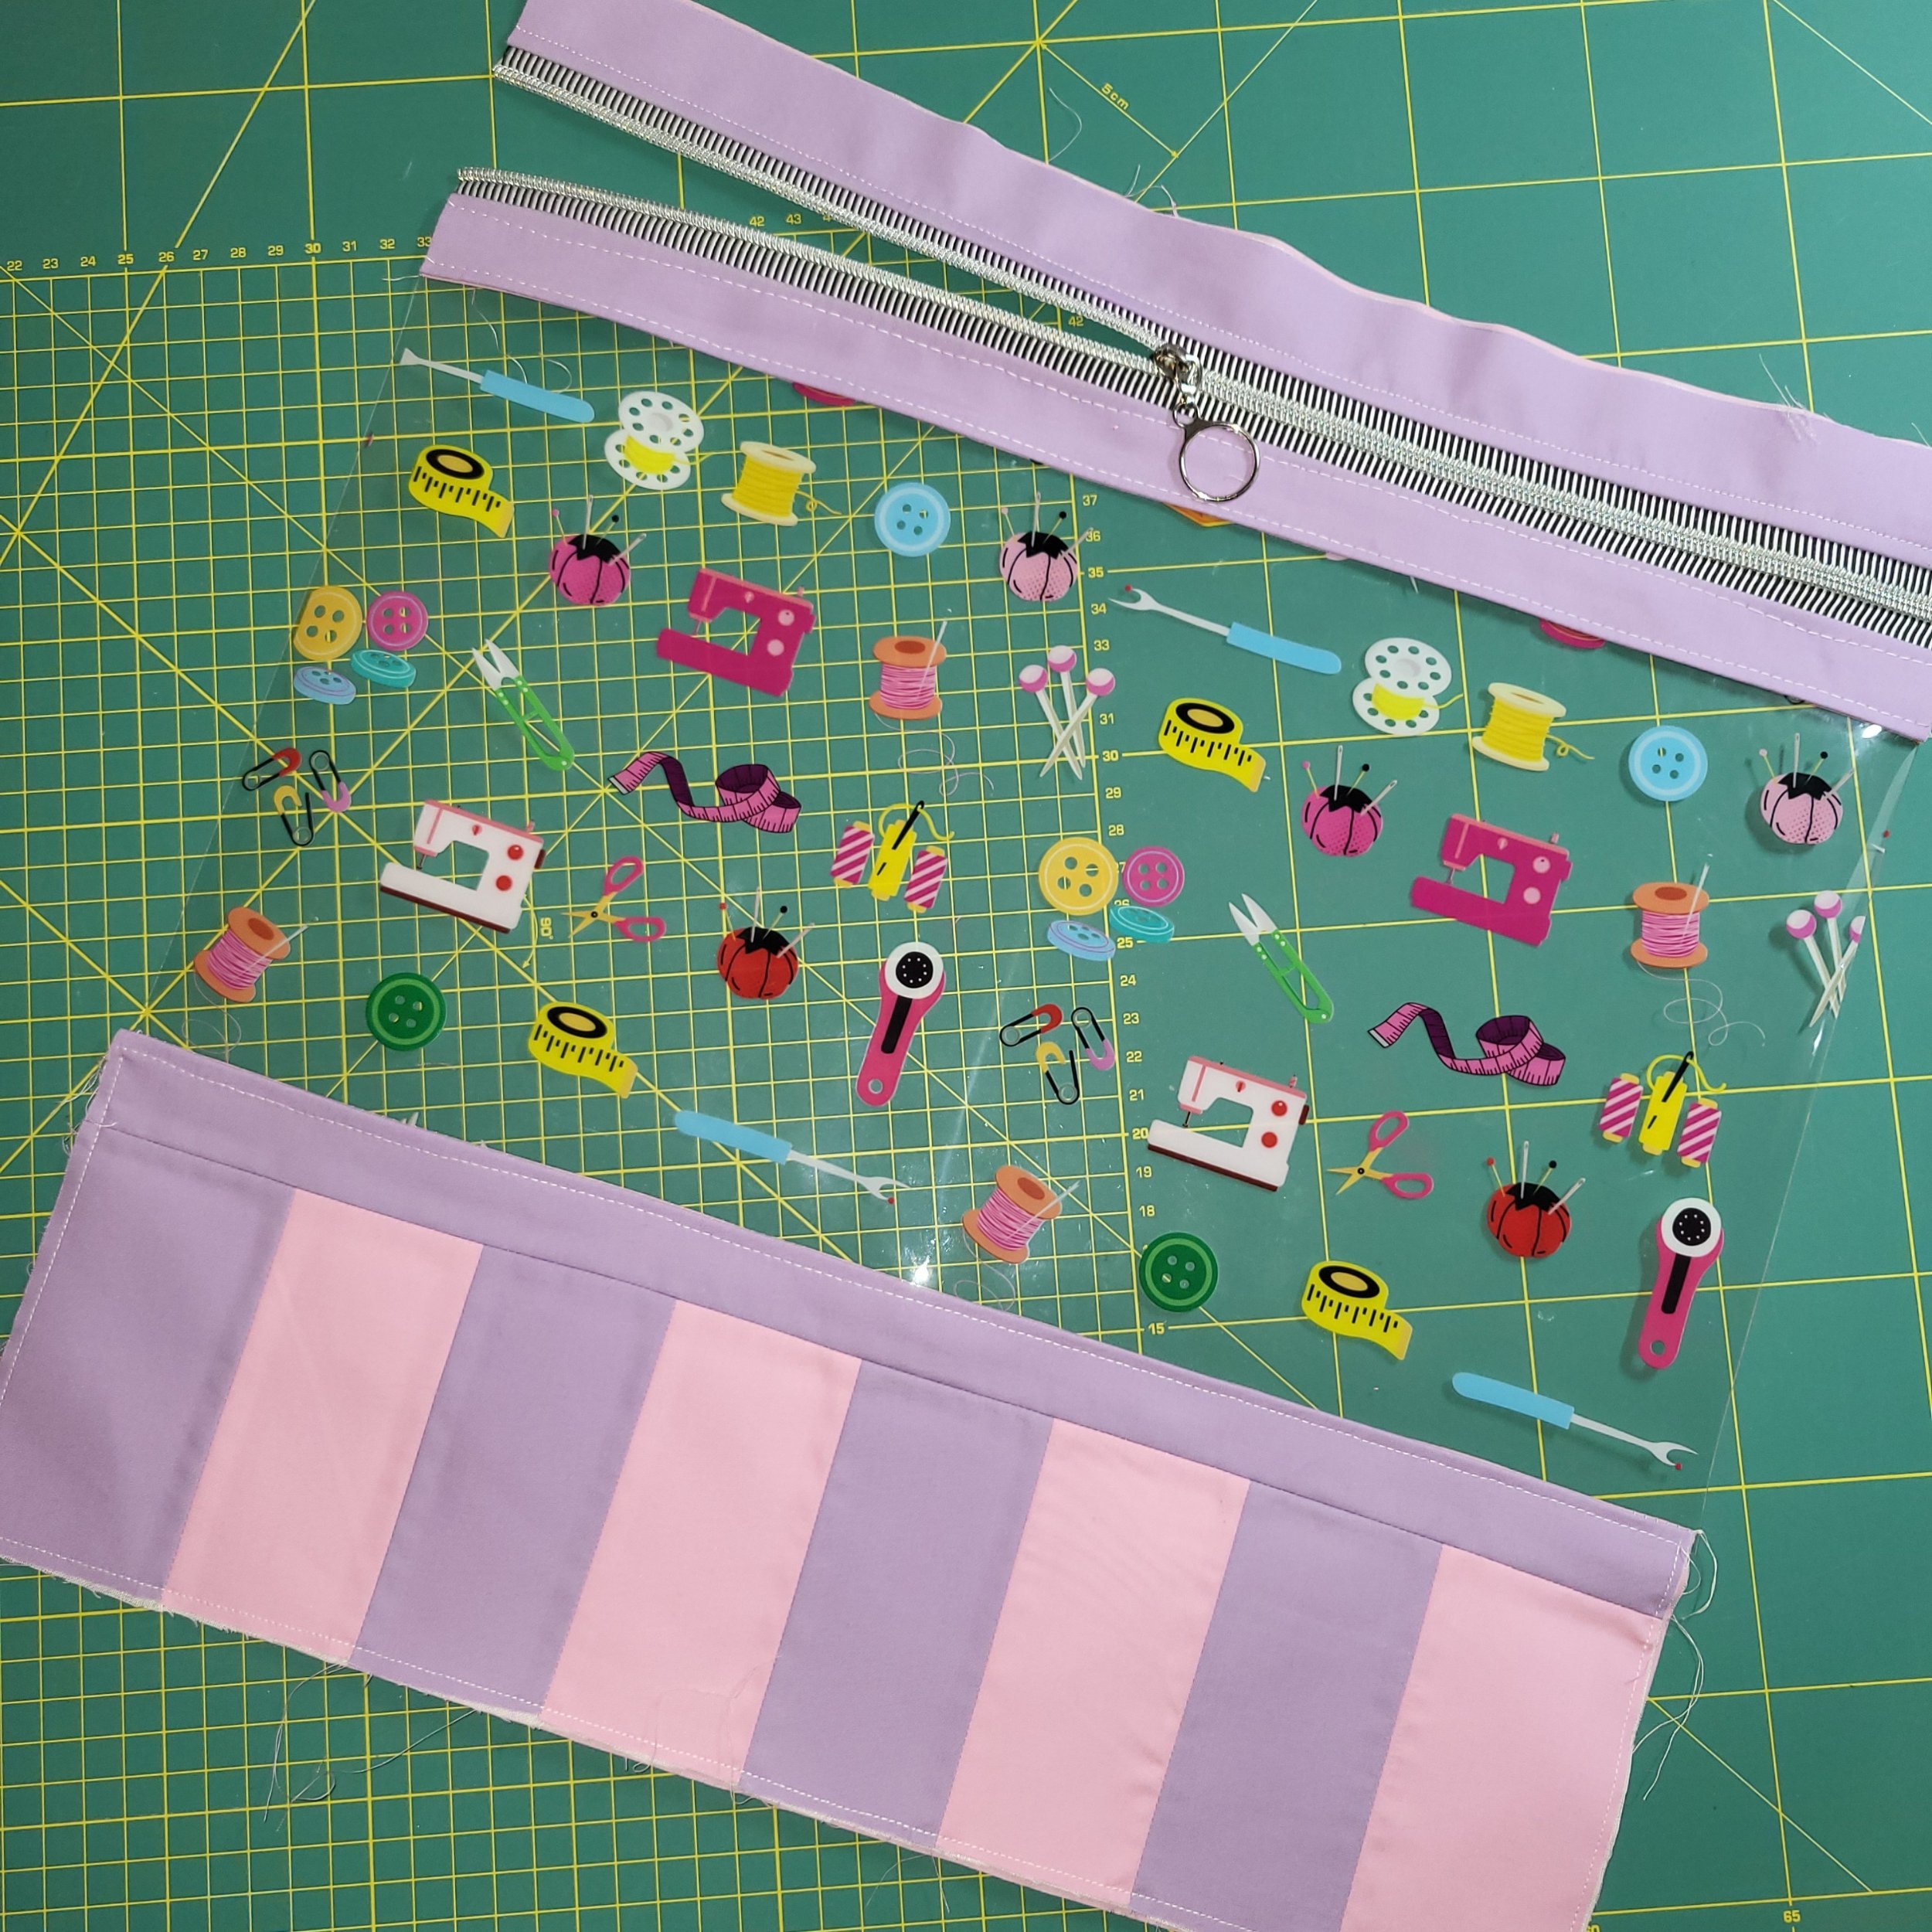
The front is assembled with a bottom border (on the larger sizes), a window, and a zip panel. This is then cut to the same size as the back, and the two are sewn together and then the binding added.
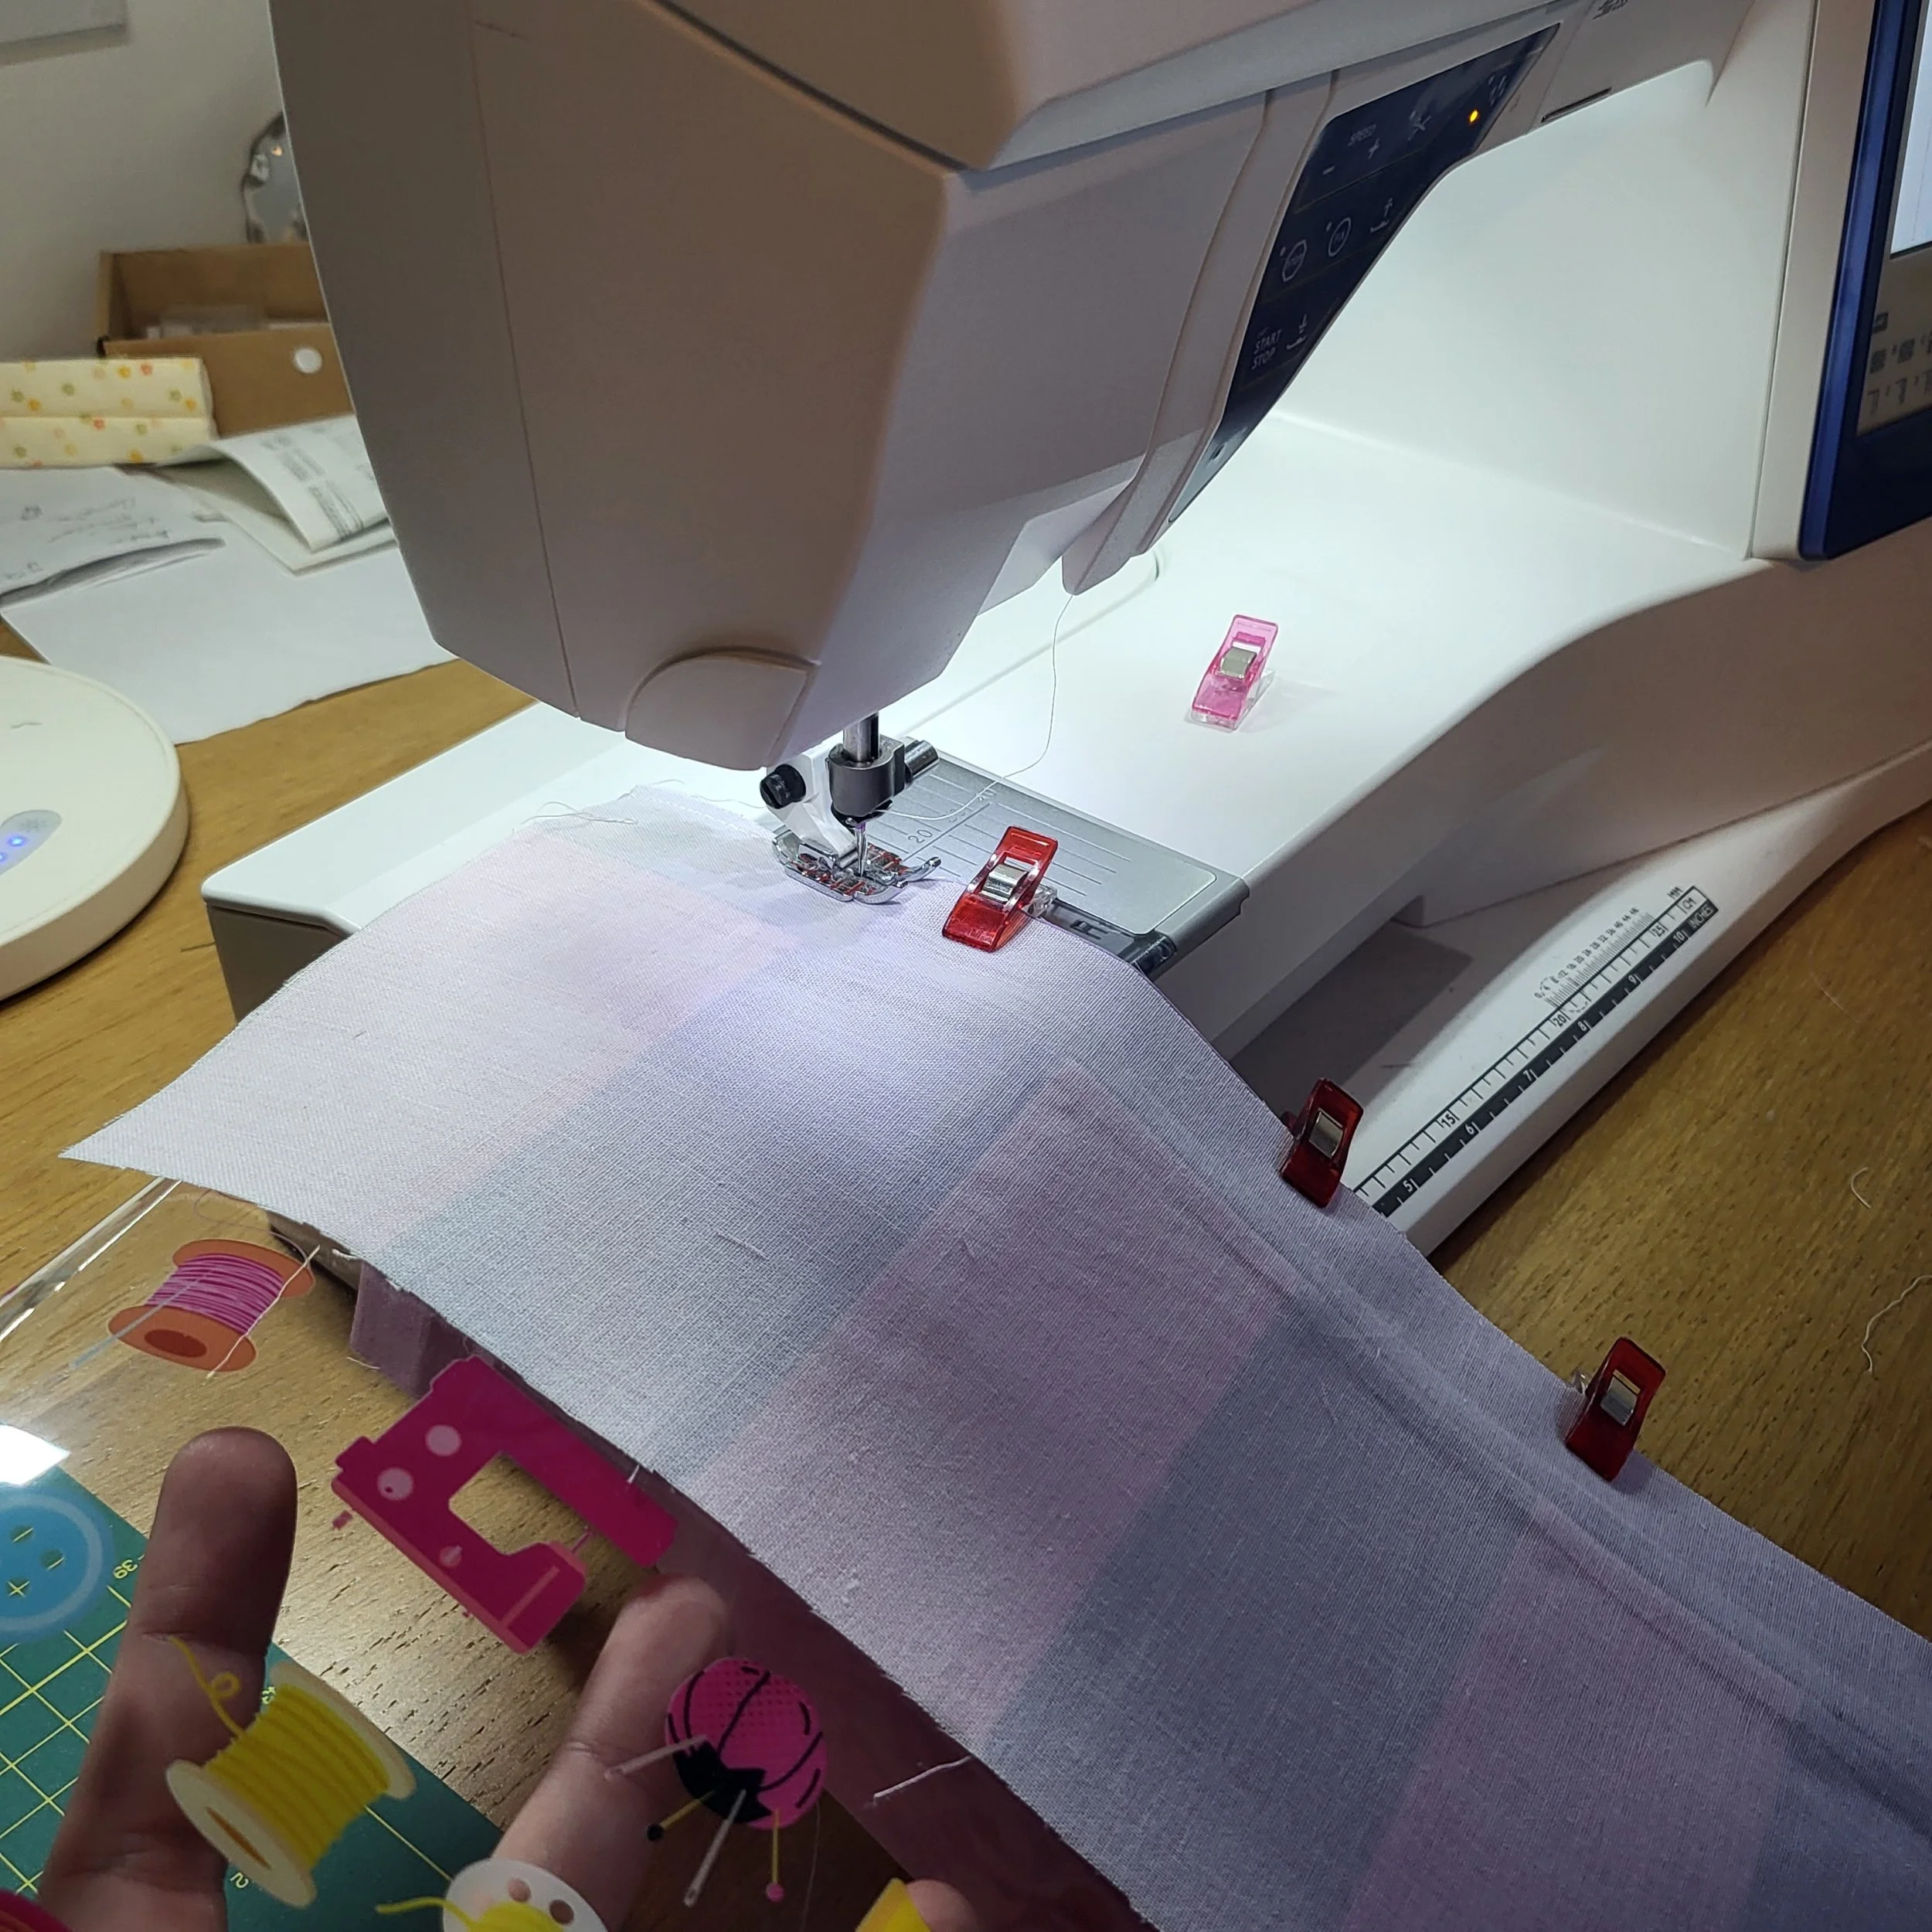
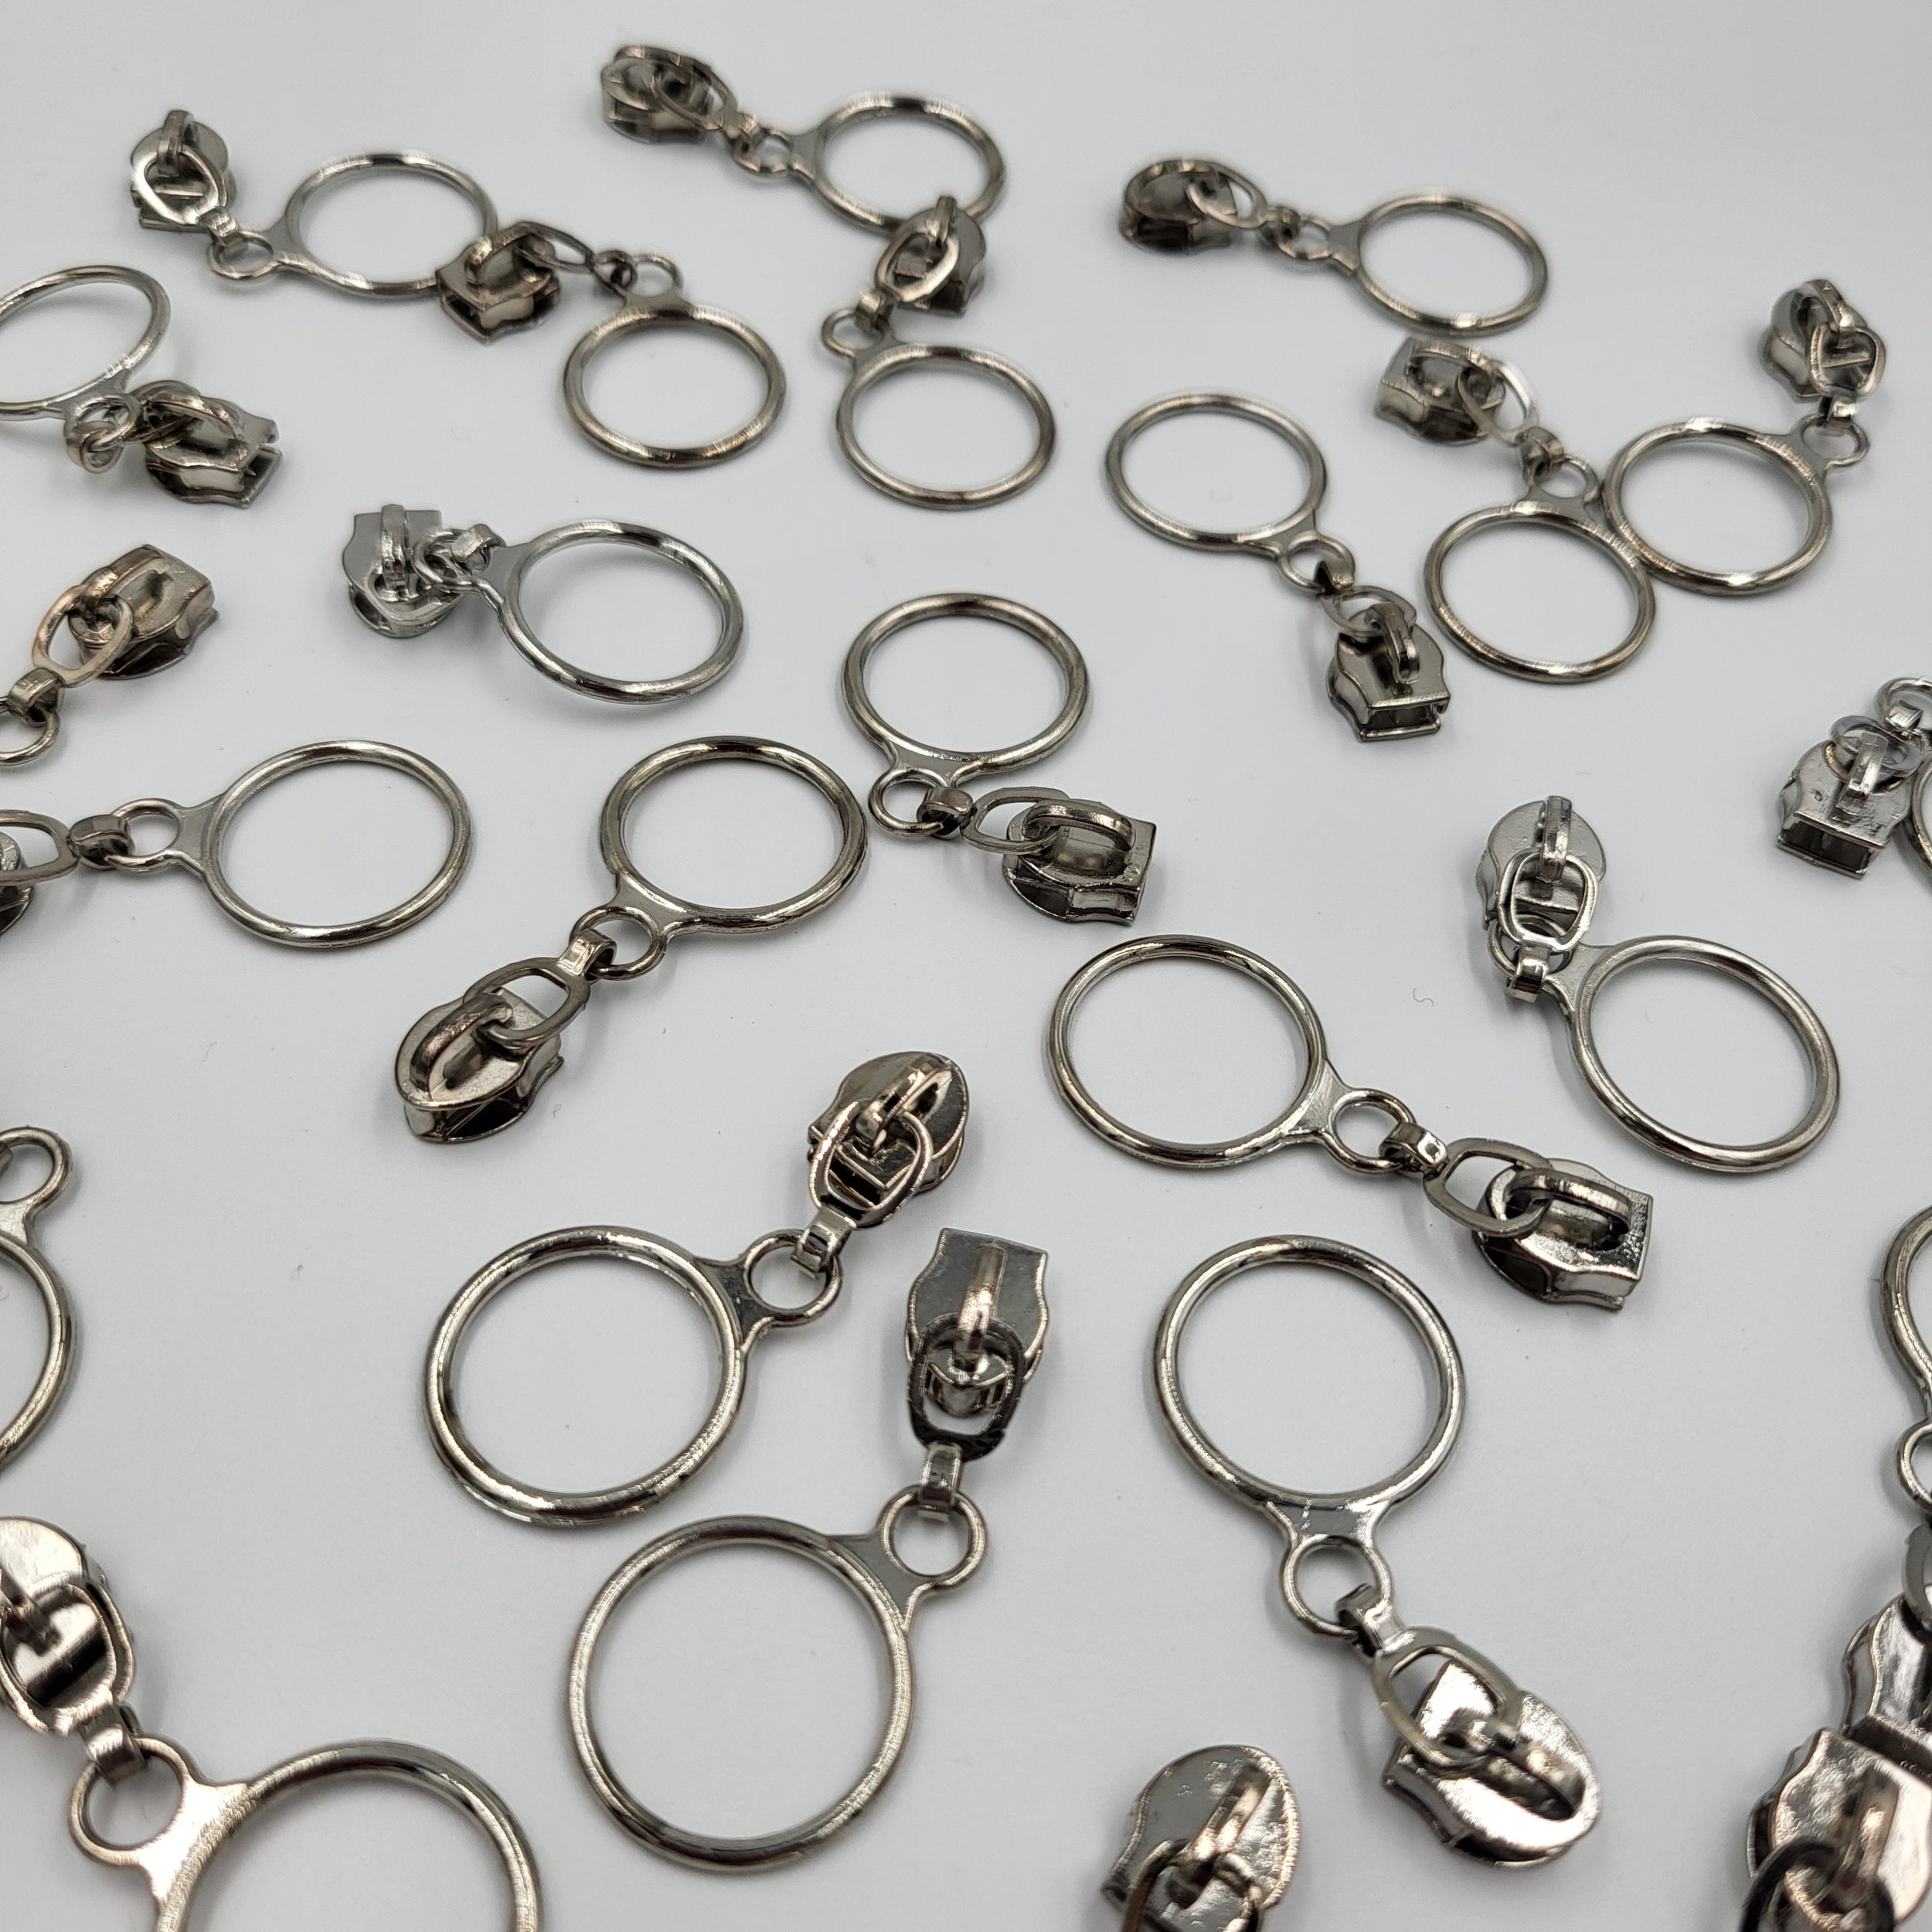
Having some experience of sewing zippers is an advantage, but really the By Annie patterns are great at explaining what you’re doing at each step.
The question now really is, which fabrics are you going to choose for your very first project bag?
Products used in (or suitable for) this project:


